
ClipClip is a free tool for PC Windows 7/8/10 users to download and explore existing functions. It’s effective to manage files that you have copied and pasted while using Windows.
Introduction of ClipClip for Windows PC
The soft is the continuation in the evolution of the clipboard. It is also a noteworthy and enhanced manager. It works for all of the files that you copy and paste when you control Windows.
Possible to deal with tiny flaws
These issues can come from the Window’s native clipboard. The current software is able to provide every customer a set of much better features. They should improve your productivity.
There are many problems that you can face. They relate to the frequency you copy & paste daily and how you apply to paste something. Unfortunately, it was not on the clipboard.
Don’t worry! With the creation that you choose, it can change the Windows clipboard into the new one easily.
Key features
ClipClip is an ideal clipboard management program for PC Windows. The author expects to offer some greater changes for copying and pasting. You can do that for multiple texts, files, or images on the clipboard. And, you can determine which ones you will deploy or store on the loud afterward.
Editing
It’s simple to edit any text fragment that you have copied to the clipboard by using the built-in editor.
Generating
It’s no hard to create an infinite number of folders with subfolders to preserve your clips.
Restoring
You can launch Clipboard history to regain any copied file that you like.
Sorting
It’s feasible to organize and position again your files by dragging and dropping.
Integration
It integrates with Google Drive so you are allowed to share any clip.
And more
ClipClip is one of the best apps for PC Windows to manage files on your computer. It’s free to download!
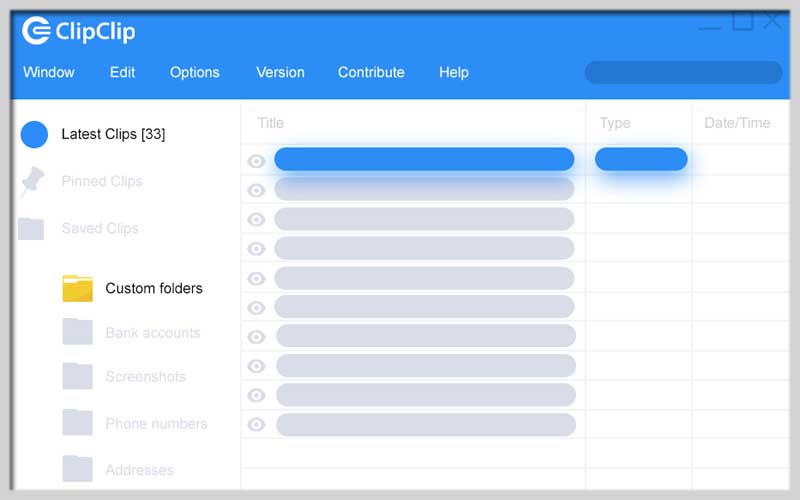
Screenshots


How to Install and Use ClipClip
Installation Guide
ClipClip is a powerful clipboard manager that allows you to manage, organize, and access multiple clipboard items. Follow these steps to install and start using ClipClip effectively.
Step 1: Download ClipClip
- Visit the official ClipClip website (https://clipclip.com).
- Click on the “Download” button to download the ClipClip installer.
Step 2: Install ClipClip
- Locate the downloaded installer file (usually in your Downloads folder).
- Double-click the installer file to launch the installation wizard.
- Follow the on-screen instructions:
- Click “Next” to proceed through the installation steps.
- Review and accept the license agreement.
- Choose the installation location (or use the default path).
- Click “Install” to begin the installation process.
- Once the installation is complete, click “Finish” to exit the wizard.
Using ClipClip
Step 1: Launch ClipClip
- After installation, ClipClip may launch automatically. If not, you can start it by finding the ClipClip icon on your desktop or in the Start menu and double-clicking it.
Step 2: Capture Clips
- Use the standard copy command (Ctrl + C) to copy text, images, or files. ClipClip will automatically capture and store these items.
- To capture screenshots, use the designated hotkeys (default is Ctrl + Shift + C for full screen, Ctrl + Shift + X for active window, and Ctrl + Shift + V for a custom area).
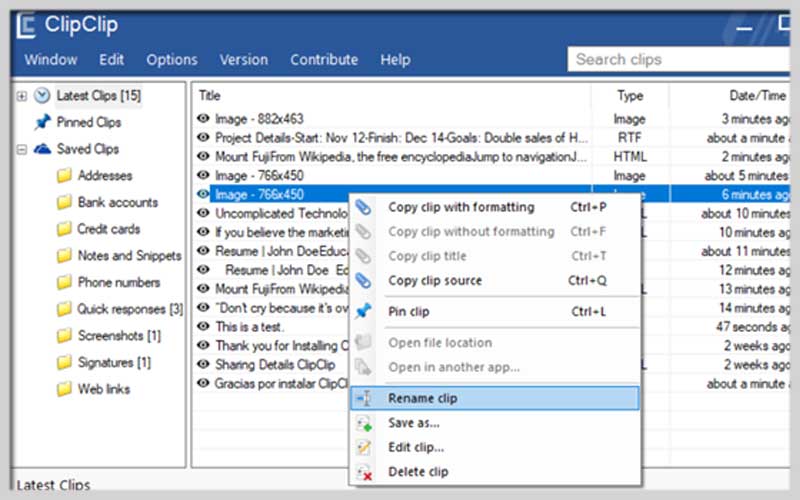
Step 3: Manage Clips
- Open ClipClip by clicking its icon in the system tray.
- The main interface displays all your captured clips. You can view, edit, and organize these clips easily.
- Clips are categorized into folders such as “Text Clips,” “Image Clips,” and “Files Clips.”
Step 4: Use Clips
- To use a clip, simply click on it to copy it to your clipboard.
- You can also right-click on a clip to see additional options such as “Edit,” “Rename,” “Move to Folder,” and “Delete.”
Step 5: Edit Clips
- Select a text clip and click the “Edit” button to modify its content in the built-in text editor.
- For image clips, use the built-in image editor to make changes.
Step 6: Organize Clips
- Create folders to organize your clips:
- Right-click in the folder pane and select “Add Folder.”
- Name the folder and drag clips into it for better organization.
- Use the search function to quickly find specific clips by keyword.
Step 7: Use Hotkeys
- Configure and use hotkeys to streamline your workflow:
- Go to “Options” > “Hotkeys” in the ClipClip menu.
- Set custom hotkeys for capturing clips, accessing ClipClip, and more.
Step 8: Synchronize Clips
- Sync your clips across devices using cloud services:
- Go to “Options” > “Settings” > “Synchronization.”
- Select your preferred cloud storage provider and follow the instructions to set up synchronization.


