
ISO to USB 1.5 is a simple program to burn files in ISO format to USB units and choose between different file systems to give them the proper format.
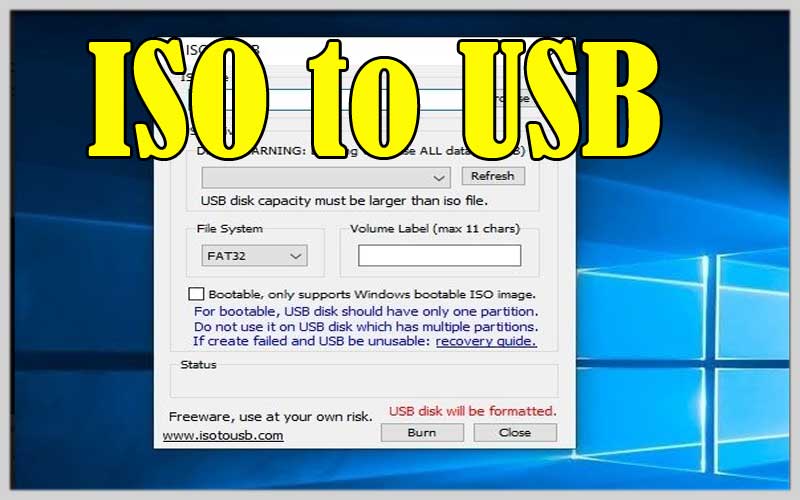
Do you need to burn the ISO image to a USB stick? Then you can do with a simple application like ISO to USB for PC Windows that you can burn images in this format to USB units.
Burn your ISO files to USB units
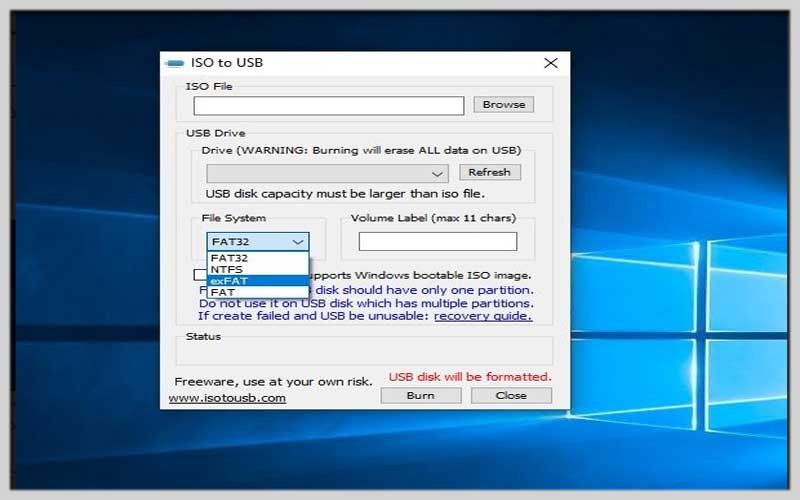
This application comes with a really simple interface that allows us to choose between different options for recording those images. It is compatible with the following files:
FAT.
FAT32.
exFAT.
NTFS.
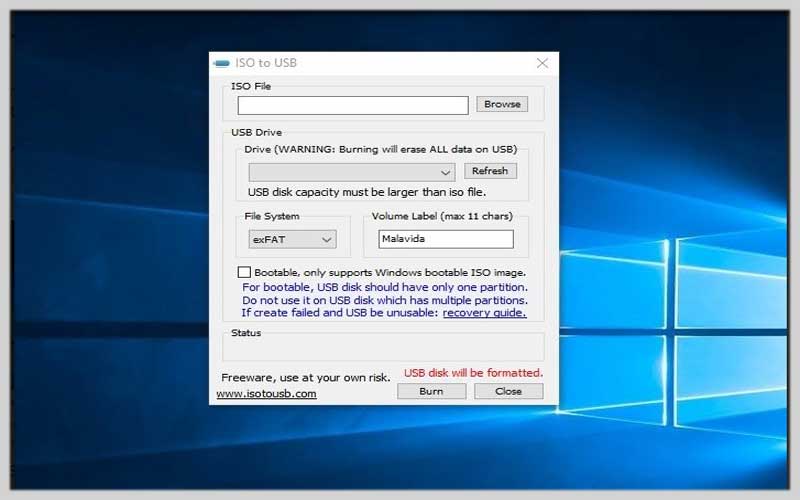
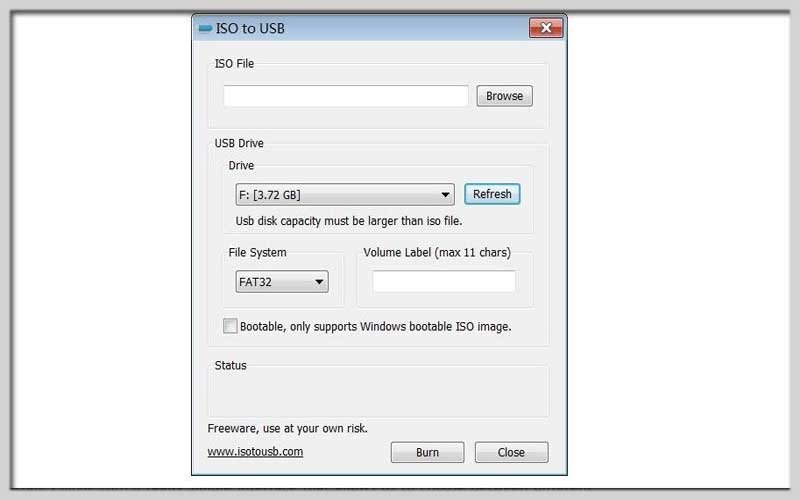
We just need to select the file, the file system type and then the name of the USB device, which will be automatically formatted just before the burning process.
It is a very useful software for this kind of work as it stands out for its simple and fast usage. Thanks to the latter, we can create units that automatically start or load the operating system into a virtual machine, such as running Linux on Windows.
Screenshots
Bridging the Gap: A Guide to Using ISO to USB
An ISO file is a disc image, essentially a digital copy of an entire CD, DVD, or Blu-ray disc. It often contains an operating system installer, recovery tools, or bootable software. But how do you use this digital image to create a bootable USB drive that your computer can boot from? Here’s a breakdown on how to utilize ISO to USB tools to create bootable USB drives for various purposes:
Choosing Your Weapon:
- Several free and paid creation tools are available. Here are some popular options:
- Rufus: https://rufus.ie/ (Free, user-friendly, and lightweight)
- Etcher: https://etcher.balena.io/ (Free, simple interface, multi-platform support)
- UNetbootin: https://sourceforge.net/projects/unetbootin/files/UNetbootin/ (Free, older tool with broad format support)
- Windows Media Creation Tool: https://www.microsoft.com/software-download/windows11 (Free, official tool for creating bootable Windows installation media)
Preparing for Battle:
Before diving in, ensure you have the following:
- ISO File: The disc image you want to use (operating system, recovery tool, etc.).
USB Drive: A USB flash drive with enough storage space to hold the ISO file. Back up any important data on the drive, as the creation process will erase it.
ISO to USB Tool: Download and install your chosen creation tool.
Creating a Bootable USB Drive: - The specific steps might vary slightly depending on the chosen tool, but the general process follows these guidelines:
- Launch the Tool: Find your downloaded tool and launch it.
- Select the ISO File: Most tools will have a button or option to browse and select the ISO file you want to use.
- Choose the USB Drive: Ensure your USB drive is properly connected and select it from the list of available drives within the tool. Double-check the drive letter to avoid accidentally erasing the wrong drive!
Initiate the Creation Process: Click the “Start,” “Burn,” or similar button to begin creating the bootable USB drive. The tool will format the drive (erasing all data) and copy the necessary files from the ISO image to create a bootable environment on the USB drive. This process might take some time depending on the size of the ISO file and the speed of your USB drive.
Using Your Bootable USB Drive:
- Restart Your Computer: Once the bootable USB drive is created, restart your computer.
- Boot from USB: Most computers have a key combination (often Esc, F10, F12, or Del) to access the boot menu during startup. Refer to your computer’s manual or manufacturer’s website to determine the specific key for your system.
- Select the USB Drive: Using the boot menu, select the option that corresponds to your USB drive. This will boot your computer from the bootable USB drive instead of the usual hard drive.


