
Windows XP Mode is a tool for virtualization. It’s free to download the new device for PC Windows 7/8/10 and ready to launch Windows XP applications on Windows 7!
Available to deploy Windows XP Mode PC and use usual software on Windows 7
Windows XP is one of the existing operating systems by Microsoft. It’s also the item that people often experienced. However, your soft cannot work well on recent versions and it may be incompatible with these releases.
Therefore, the author has launched the present utility.
A new mode for Windows
The product that you are checking can utilize the abilities of a virtual machine. Then, start Windows XP applications on Windows 7 thanks to those possibilities easily.
In other words, you will have the chance to stay away from incompatibilities. Furthermore, you can continue using your usual software.
How to manage
If you want the current mode to run properly, you need to make sure that the BIOS virtualization tech is on. That comes from the System Configuration.
SecurAble is the third-party soft that can help you find whether if your system is compatible with it.
That can occur similar to your PC’s processor. You should choose something to see if you meet the requirements or not. They are Intel Processor Identification Utility or AMD-V Technology and Microsoft Hyper-V Compatibility.
Highlights
They are the main features in Windows XP Mode PC Windows.
A useful mode
It’s good at launching Windows XP apps on Windows 7, as mentioned above.
It allows the customer to avoid the condition two programs are different. So, you can keep controlling your operation.
Availability
It’s obtainable for a large number of versions of Windows 7.
Windows XP Mode is a tool for PC Windows that is free to download. It requires Windows 7 Professional, Windows 7 Ultimate, and W7 Enterprise. Besides, please have a CPU with Intel VT or an AMD-V or VIA VT! Remember to install Virtual PC, too!
Screenshots
How to Install and Use Windows XP Mode
Windows XP Mode is a feature for Windows 7 that allows users to run Windows XP applications in a virtual environment. This is particularly useful for compatibility purposes. Here’s how to install and use.
Installation Guide
Step 1: Check System Requirements
- Ensure you are running Windows 7 Professional, Enterprise, or Ultimate.
- Verify that your system supports hardware virtualization (Intel VT or AMD-V). You can check this in the BIOS/UEFI settings.
Step 2: Download Required Files
- Visit the Microsoft download page (https://www.microsoft.com/en-us/download/details.aspx?id=8002).
- Download the file installer.
- Download the Windows Virtual PC installer from the same page.
Step 3: Install Windows Virtual PC
- Locate the downloaded Windows Virtual PC installer file (usually in your Downloads folder).
- Double-click the installer file to begin the installation process.
- Follow the on-screen instructions to install Windows Virtual PC. Restart your computer if prompted.
Step 4: Install
- Locate the downloaded installer file.
- Double-click the installer file to begin the installation process.
- Follow the on-screen instructions to install it. This process will extract the necessary files and set up the virtual environment.
Step 5: Configure
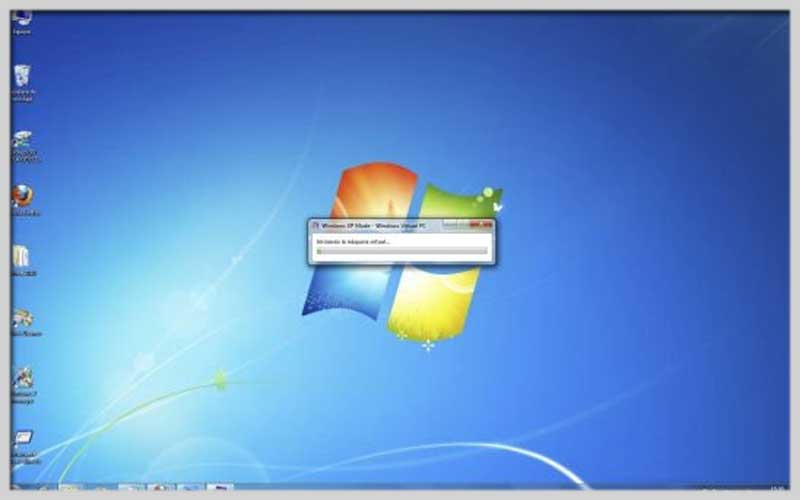
- After installation, go to the Start menu, navigate to All Programs, and select Windows Virtual PC.
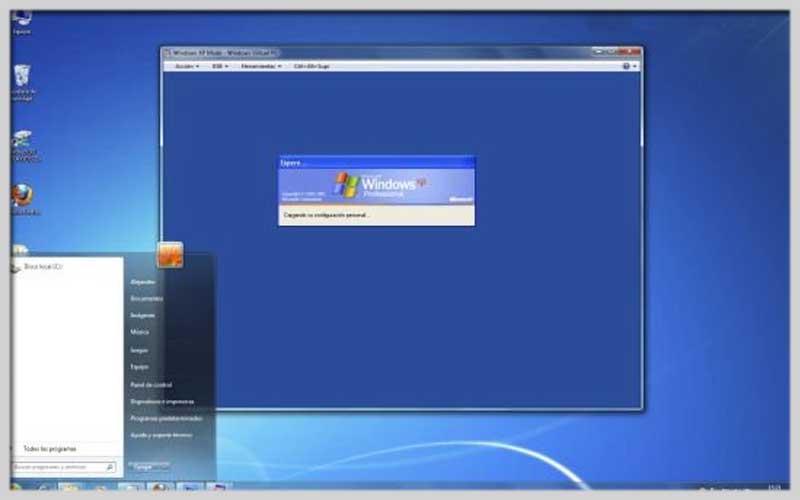
- Click on “Windows XP Mode” to launch the virtual machine.
- Follow the initial setup process, including setting up a username and password.
Using Windows
Step 1: Launch
- Open the Start menu.
- Navigate to All Programs > Windows Virtual PC.
- Click on “Windows XP Mode” to start the virtual machine.
Step 2: Install Applications in Windows XP Mode
- Once is running, you can install applications just as you would on a regular Windows XP system.
- Insert installation media or download the installer files for the applications you need.
- Run the installer files and follow the on-screen instructions to install your applications.
Step 3: Access XP Mode Applications from Windows 7
- After installing applications, you can access them directly from Windows 7.
- Open the Start menu on Windows 7, go to All Programs, and find the Applications folder.
- Click on the application you want to run. The application will open in a virtualized window, but it will appear seamless as if running directly on Windows 7.
Step 4: Manage Files Between Windows 7 and XP Mode
- You can share files between Windows 7 and it.
- Use the shared folders feature to transfer files:
- In Windows XP Mode, open Windows Explorer.
- Navigate to My Computer and access the shared folders to move files between the host and virtual machine.
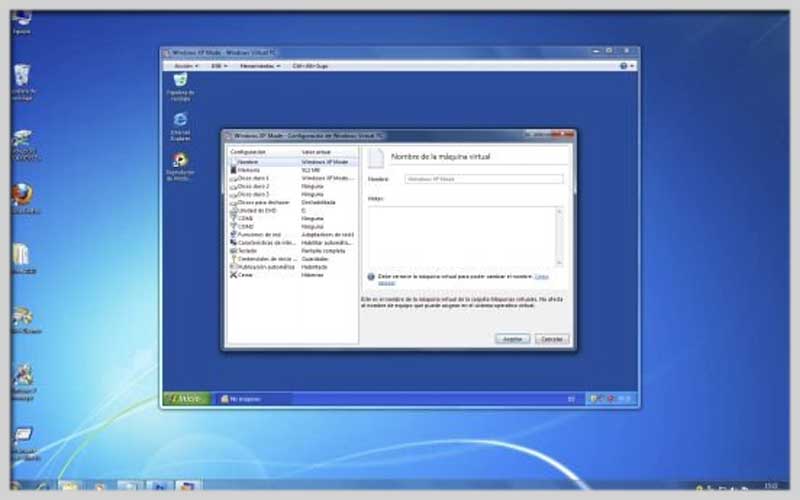
Step 5: Configure Settings
- Customize settings by accessing the virtual machine settings.
- Open Windows Virtual PC from the Start menu.
- Right-click on “Windows XP Mode” and select “Settings.”
- Adjust settings such as memory allocation, integration features, and drive sharing according to your needs.


