
Sound Editor Deluxe Free Download for PC Windows 7/8/10 is a tool for editing audio. It is easy for you to edit and operate audio.
It is necessary for you to a professional audio editor like Sound Editor Deluxe
When you work on an audio file, there will be times you may have to apply changes to it. Hence, an audio editor like the one above is necessary for you. It helps you fix the file to make it better using various advanced features. So, the program has been chosen by many users when they have a demand for making and operating audio.
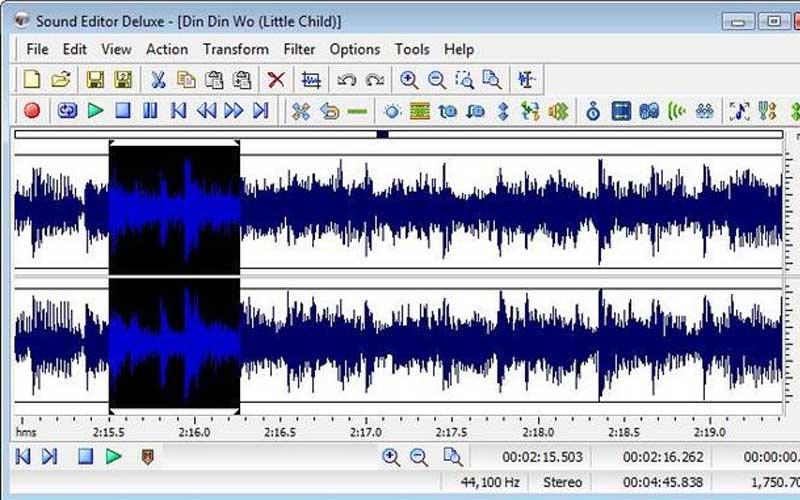
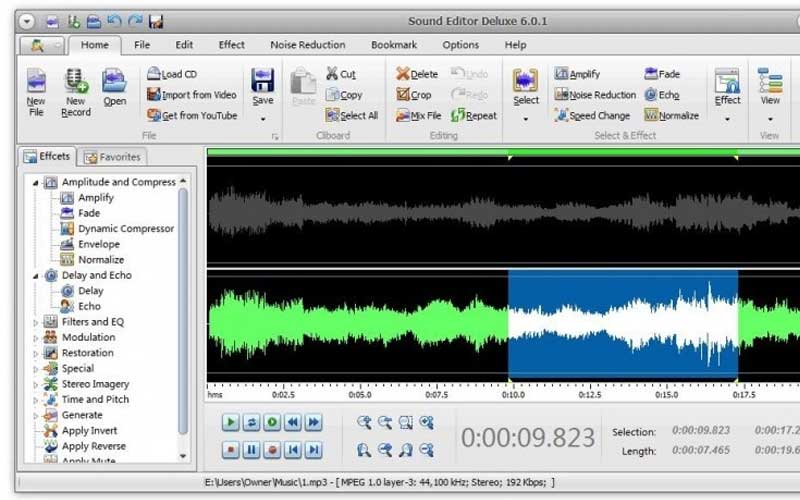
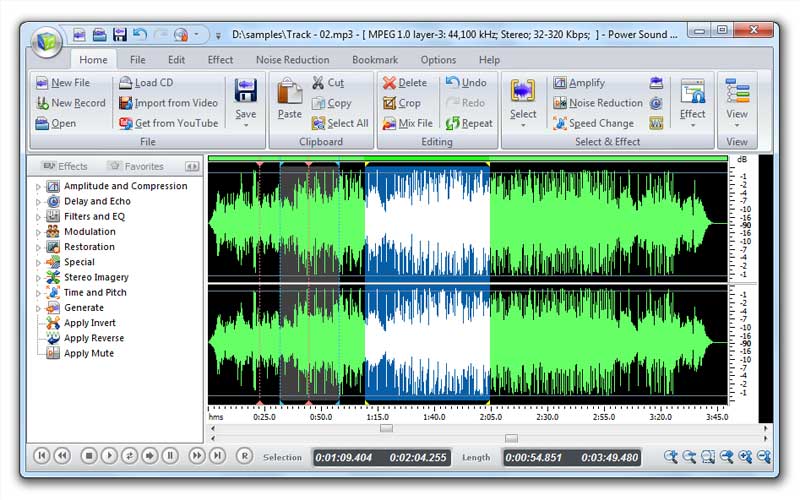
Besides having various features for editing audio, it also comes with a great interface that makes it easy to use. All audio treatment tools are visible on the interface. Hence, you will find it easy to utilize them. You can complete all the editing tasks, make changes to the sound features as well as record the sound files. Here are other great features you can experience when using the program:
- There are various file formats supported by the program, for instance, MP3, WAV, MPEG, WMA, and more.
- You can change between the formats.
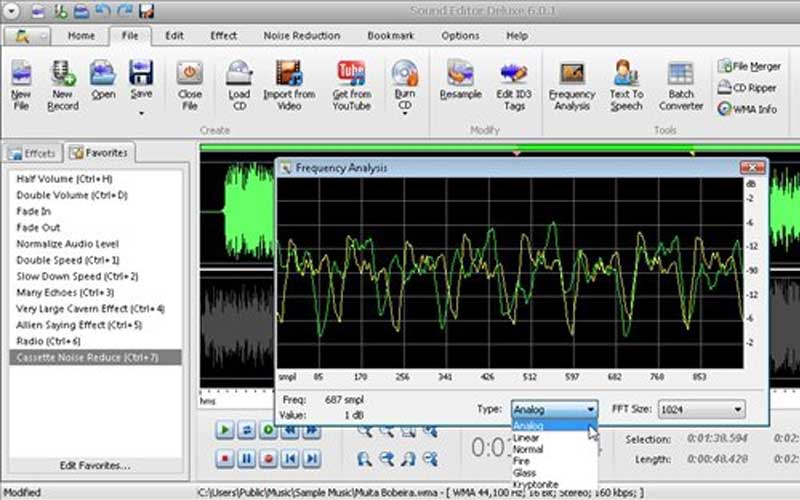
- The ID3 tags are editable.
- There are many audio effects as well as filters you can use to change and operate the sound.
- It also lets you burn audio files onto a CD or eliminate the contents from them.
Sound Editor Deluxe brings you great results in editing audio files. You have a trial version that is downloadable for PC Windows and usable for 30 days before you buy the full version.
Screenshots

How to Use Sound Editor Deluxe
Introduction to Sound Editor Deluxe
Sound Editor Deluxe is a comprehensive audio editing software designed for users ranging from beginners to professionals. It offers a wide array of features including recording, editing, mixing, and applying effects to audio files. This guide will walk you through the basic and advanced functionalities of Sound Editor Deluxe.
Getting Started
1. Installation:
- Download Sound Editor Deluxe from the official website.
- Run the installer and follow the on-screen instructions to complete the installation.
- Launch Sound Editor Deluxe after installation.
2. Setting Up Your Audio Interface:
- Open Sound Editor Deluxe and go to
Options>Preferences. - Select the
Audiotab and choose your audio interface from the list of available devices. - Configure the input and output channels according to your setup.
- Adjust the buffer size to balance between latency and performance.
Recording Audio
1. Creating a New Project:
- Open Sound Editor Deluxe and select
File>New Project. - Choose the sample rate and bit depth appropriate for your project.
- Click
OKto create a new, blank project.
2. Recording Audio:
- Click the
Recordbutton on the toolbar or go toFile>Record. - Select your input device and configure the recording settings.
- Press
Startto begin recording. - Click
Stopwhen you are finished recording. The audio will appear in the workspace.
Editing Audio
1. Importing Audio Files:
- To import audio files, select
File>Import>Audio. - Browse and select the audio file you want to import.
- The imported audio will appear in the waveform display.
2. Basic Editing Tools:
- Selection Tool: Click and drag to select a portion of the audio.
- Cut, Copy, Paste: Use these standard editing commands to manipulate the selected audio.
- Trim: Remove audio outside the selected range by selecting
Edit>Trim. - Silence: Insert silence in the selected range by selecting
Edit>Silence.
3. Applying Effects:
- Select the portion of the audio you want to apply an effect to.
- Go to the
Effectsmenu and choose from a variety of effects such as Reverb, Echo, Equalizer, etc. - Adjust the effect parameters and preview the changes.
- Click
Applyto apply the effect to the selected audio.
Advanced Editing
1. Multi-Track Editing:
- To create a multi-track project, select
File>New Multi-Track Project. - Import or record audio into different tracks.
- Use the
Mixing Consoleto adjust volume, pan, and effects for each track.
2. Using the Spectral View:
- Switch to
Spectral Viewto see the frequency spectrum of the audio. - Use the selection tool to isolate and edit specific frequencies.
- Apply spectral-based effects to enhance or remove certain frequencies.
3. Time Stretching and Pitch Shifting:
- Select the audio you want to modify.
- Go to
Effects>Time Stretch/Pitch Shift. - Adjust the parameters to change the duration and pitch of the audio without affecting quality.
- Click
Applyto process the changes.
Exporting Your Project
1. Exporting to Audio Files:
- When you are ready to export your project, go to
File>Export>Audio. - Choose the file format (e.g., MP3, WAV, FLAC) and configure the export settings.
- Select the destination folder and click
Saveto export the audio file.
2. Burning to CD:
- To burn your project to a CD, select
File>Burn to CD. - Insert a blank CD and follow the prompts to burn your audio project.
Tips and Tricks
1. Using Keyboard Shortcuts:
- Familiarize yourself with keyboard shortcuts to speed up your workflow. You can find a list of shortcuts in the
Helpmenu.
2. Undo/Redo:
- Use the
UndoandRedobuttons to easily revert or reapply changes. This is especially useful when experimenting with different edits and effects.
3. Batch Processing:
- For applying the same edits or effects to multiple files, use the
Batch Processingfeature found under theToolsmenu. This can save a significant amount of time when working with large numbers of files.


