How to Export to Adobe Audition? This is probably a question that you have wondered while using Adobe Audition. Now, we will brush it away by showing you a way to export the file into Adobe Audition.
- When your file media (that is, the audio or video you have posted) is copied in Simon Says, click the EXPORT button

- A window will pop up. Choose “Adobe Audition” from the choices and regularly, you desire to inspect “only bookmarks” thus you could only obtain the main sections of the interview you wish.
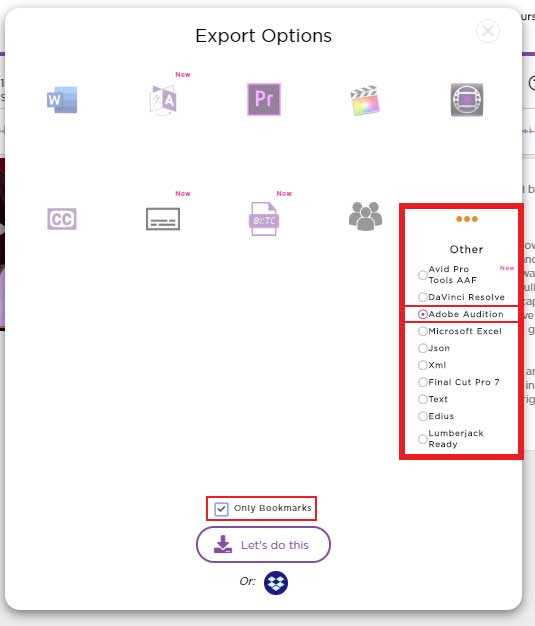
If you don’t choose “only bookmarks”, you will receive the whole media file divided into clips that are respective with the transcript rows.
Read more: How to Create, Open, and Import files to Adobe Audition
Then hit on “Let’s do this” and download the ZIP file, next, unzip it and you will see an 8.xml file.
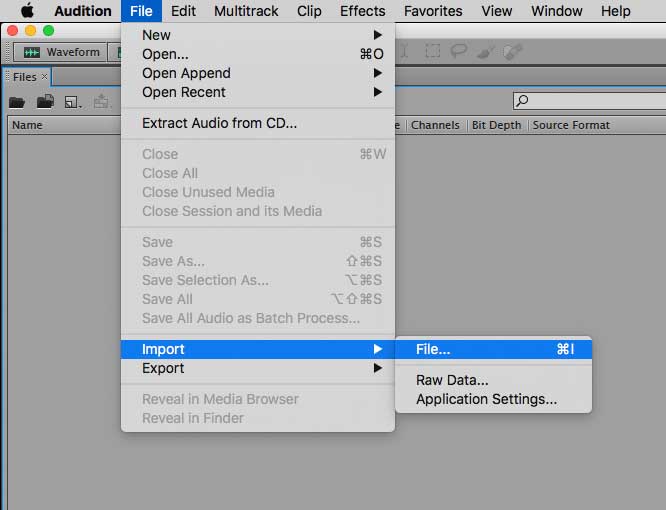
- Run Adobe Audition and then come to the “File” menu and click “Import..”
- An Import/file selector box will appear. Adjust to the folder that includes the XML file and choose it.
- A Link Media box will appear. Click “Link Media” at the bottom right.
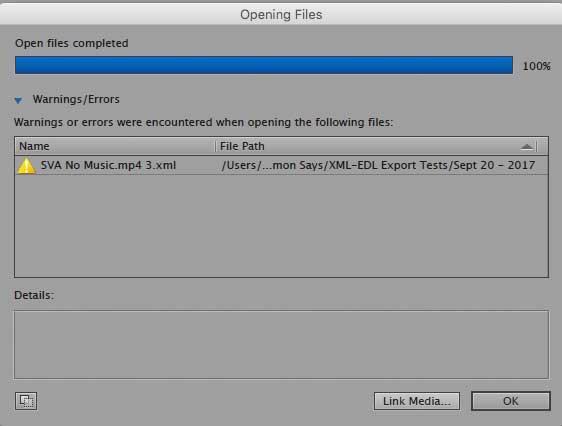
Then adjust and choose when the media file which you posted to Simon Says is on your computer. Choose it.
- The Adobe Audition sequence will link with the reference media file and you will view a timeline with the respective clips that suits what you found on Simon Says
In the “Markers” window, you will view your clips with the transcripts and the speaker names if you highlight them on Simon Says. Moreover, you could simply find out the transcripts, e.g. for keywords that are respective with the clips.
These are the orders that support you to export the files to Adobe Audition.
If How to Export to Adobe Audition is helpful, please add a comment and share it with your friends.