Audacity becomes more popular to edit sound on the computer. This thanks to its features. One of its helpful features is that record audio from other apps. This section will show you How to Record Audio From Any Windows 10 App Using Audacity.
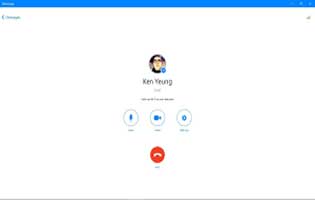
Note: This feature can be enabled once you have implemented it full of our guide. This could be used to record from the web (Skype, WhatsApp, etc.)
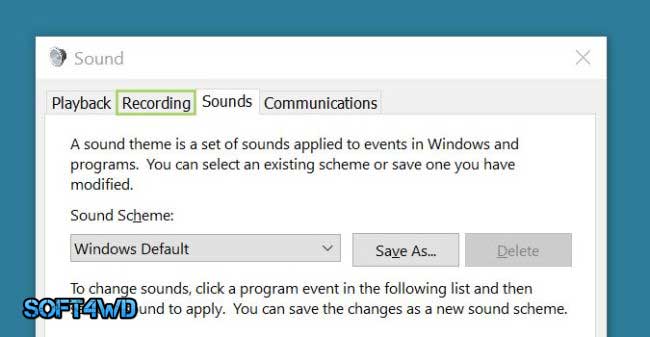
Sound Settings:
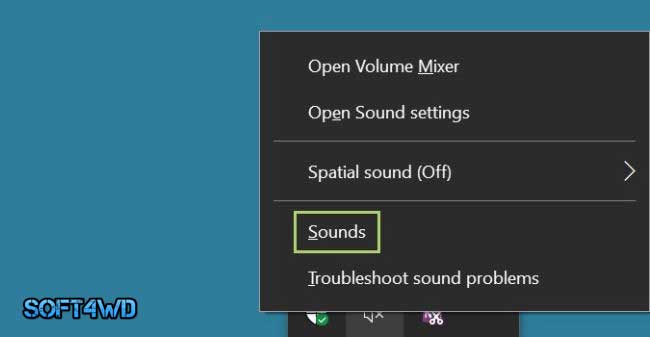
- In the systems tray, right-click on the speaker icon
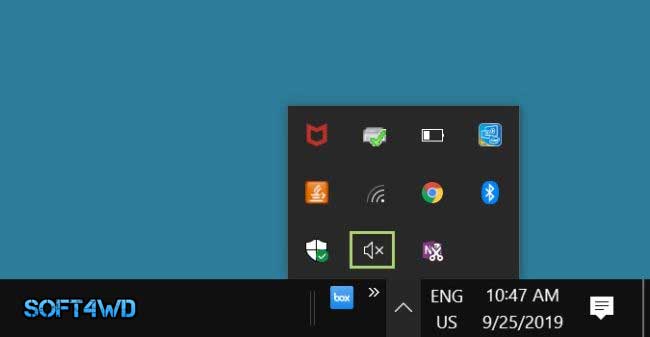
- Select ‘Sound’, you could see it in the context menu
Read more: Audacity
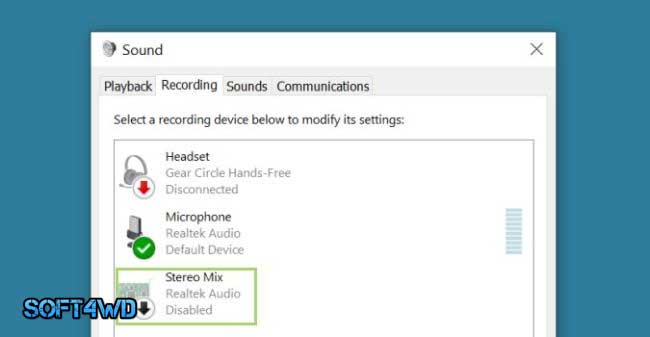
- In the windows of Sound, go to the Recording tab
- Notice that the default device with the green tick against it
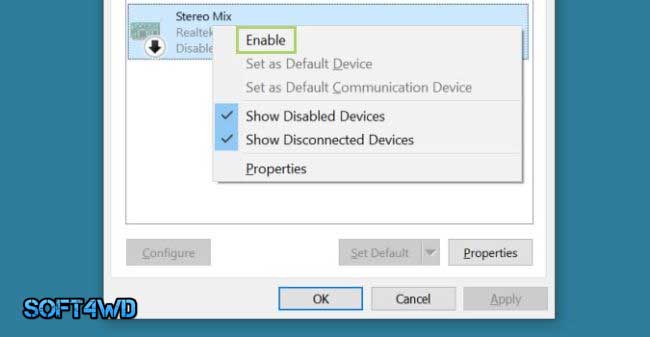
- Right-click on Stereo Mix
- Choose ‘Enable’
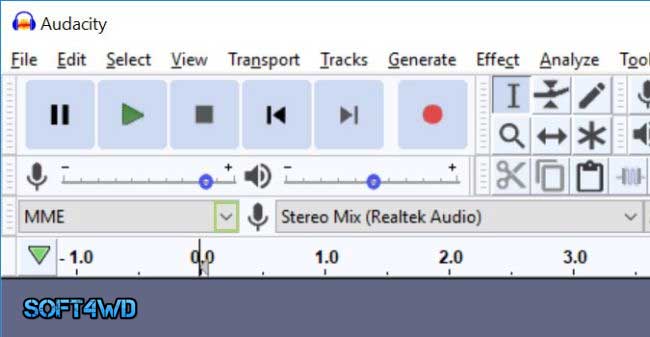
Audacity settings
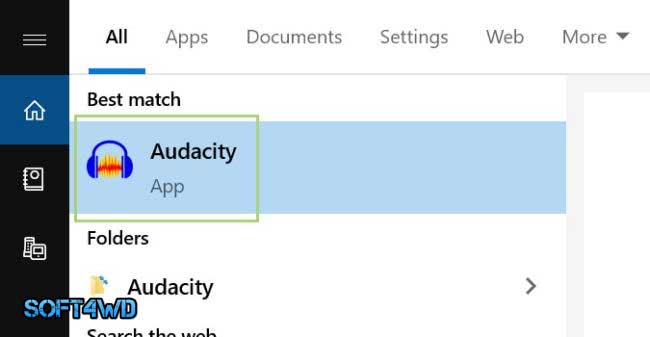
- In the finding box on the Toolbar, write Audacity
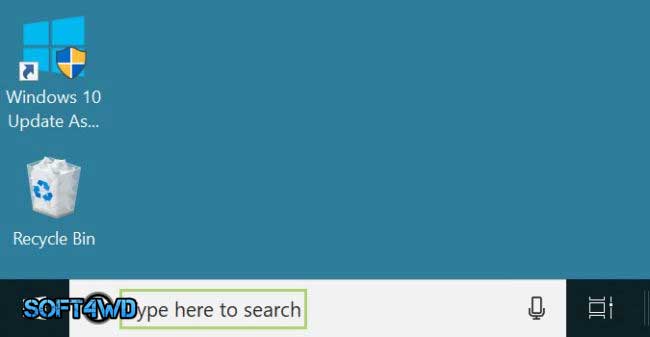
- Click Audacity in the finding choices
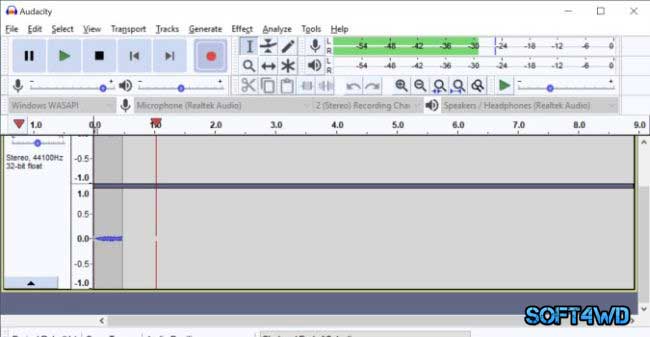
- Run the drop-down menu for Audio Host
- Select Windows WASAPI
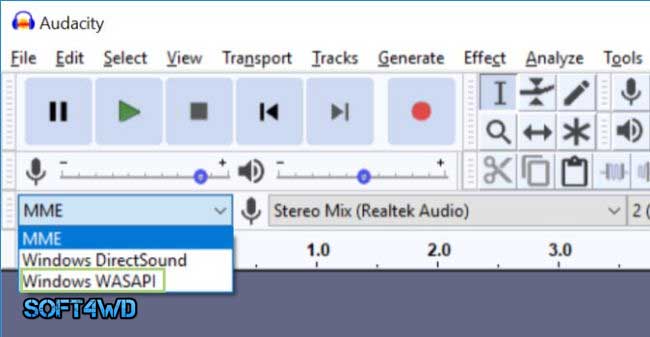
- Inspect that the Recording Device is the default device in the Sound Settings. Now, it is available for you to begin your record

- Press Record (the red dot) in Audacity and then run the app for which you desire to create a recorded audio

- Once finished, press Stop (the black square)

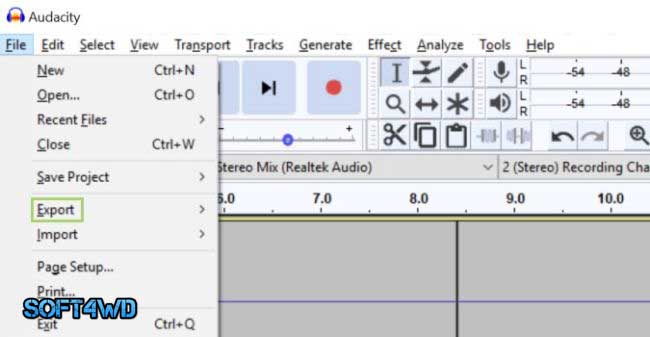
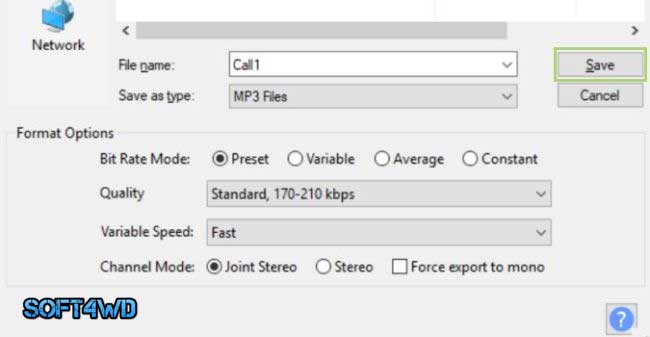
- To store the file, go to the File Menu

- Click Export
- Select Export as MP3. This file form is compatible with most apps you could utilize. Also, Wav can be used.

- Write a file name
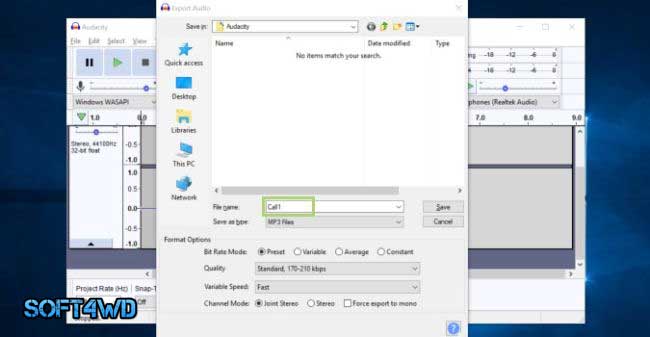
- Click Save
Read more: Easiest Way to Quickly Cut Audio in Audacity
That’s done. This is all the steps that you have to follow to Record Audio From Any Windows 10 App Using Audacity. We all hope this will be helpful for you to use the Audacity app. If possible, please share it with your friends.